Using CVS Source Revision Control with Active-HDL
Overview
Active-HDL provide built-in CVS interface that allows direct interfacing with CVS source revision control system from within Active-HDL IDE.
Software Installation Prerequisite
It is recommended to install the following software the proper operation of the CVS interface.
CVS server and repository. You may use the following link which contains all essential information to set up the server and repository:
http://ece.gmu.edu/coursewebpages/ECE/ECE448/S10/documentation/CVS_tutorial.pdf
The free CVS client from Tortoise.
WinMerge open source software to compare and merge source files.
Setting up CVS Source Control Interface in Active-HDL
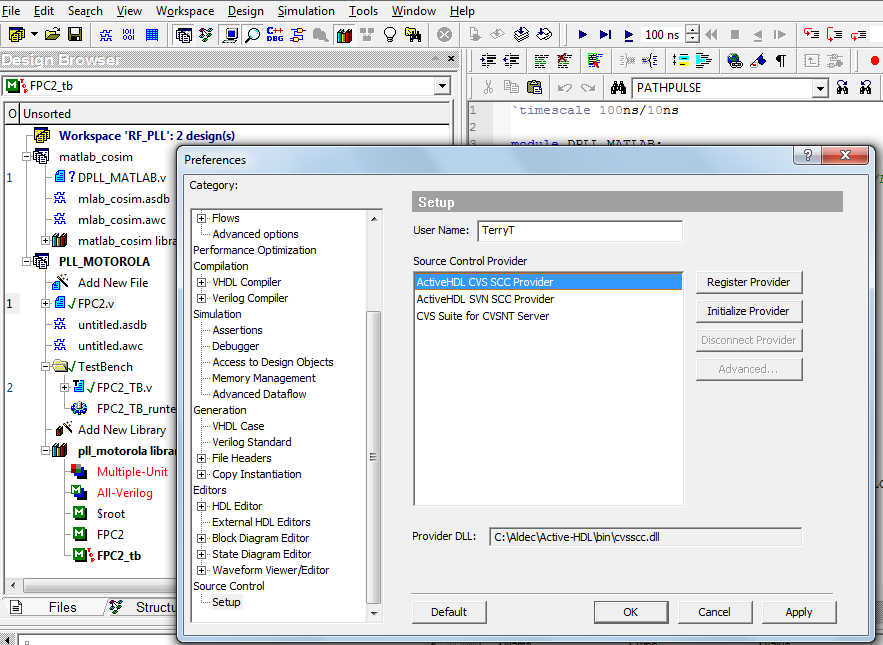
Open Active-HDL and click Menu | Tools | Preferences | Source Control | Setup and choose the CVS option as shown below.
Click the Initialize Provider button and then the Advanced button and set the "CVS executable file" option to C:\Program Files\CVSNT\cvs.exe as shown below.
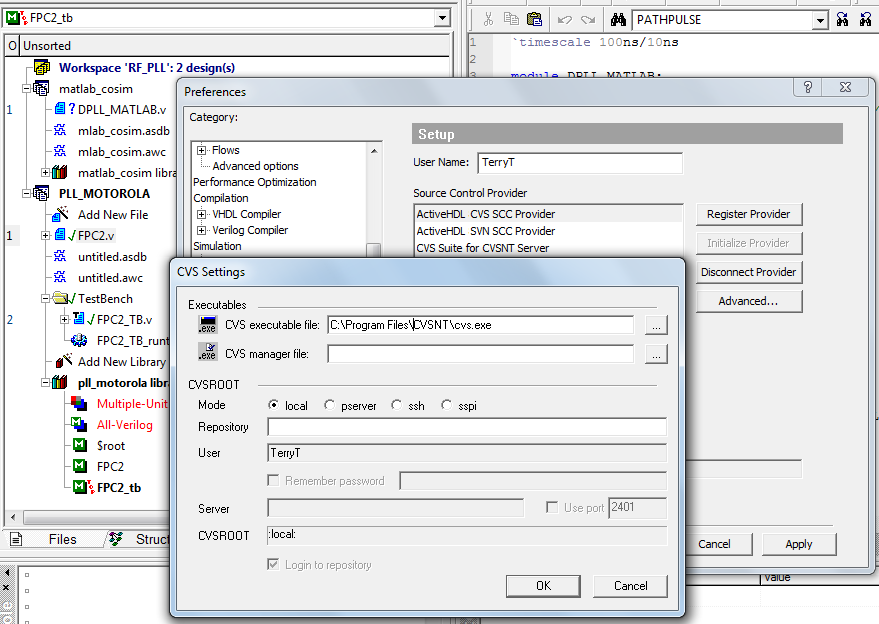
Click OK when done.
Note. For further clarification please follow the instructions in Active-HDL's documentation, i.e. Chapter: Configuring and Registering SCC Interface in Active-HDL from Active-HDL's Online Documentation accessible from under Help menu.
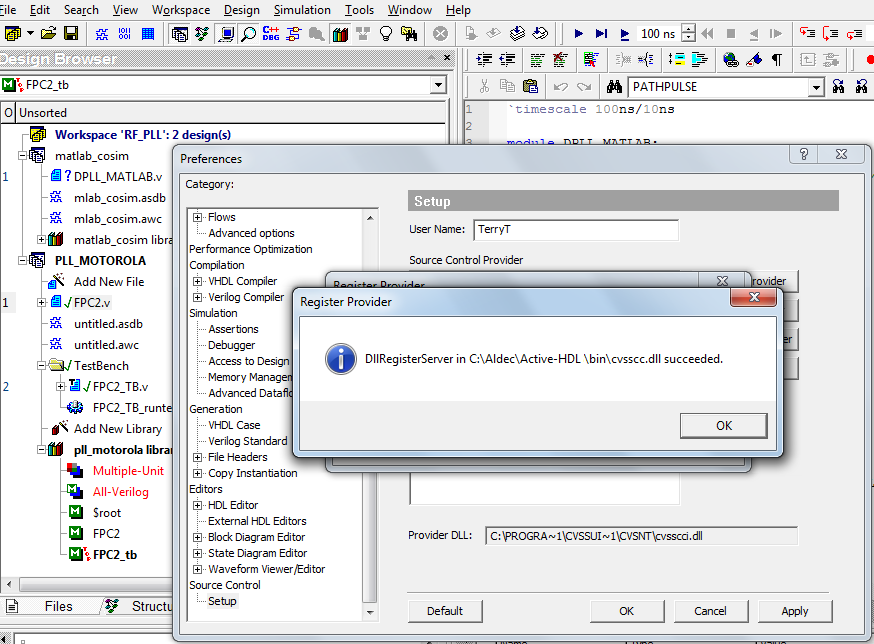
Click the Register Provider button and select the CVS option as shown below.
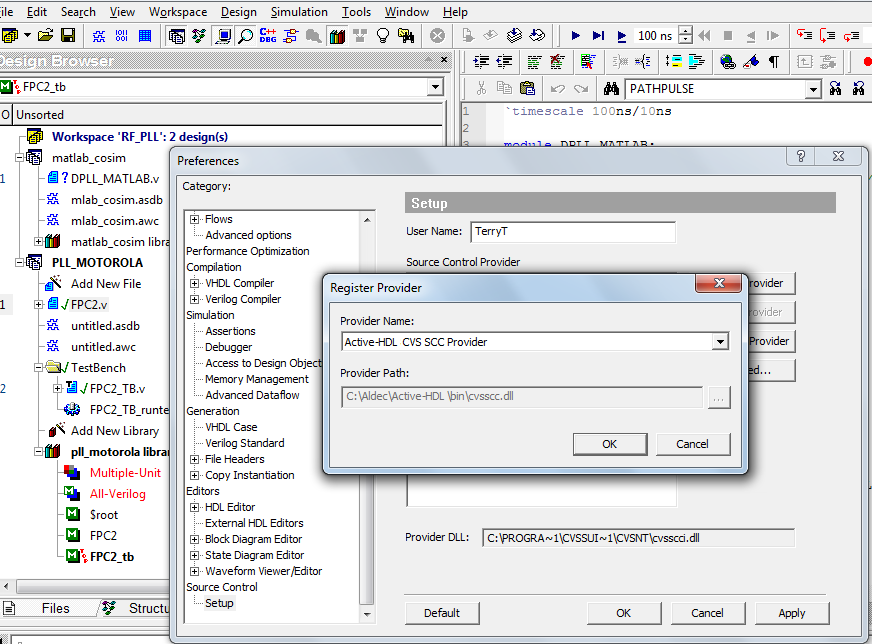
Click OK when done.
Adding an Active-HDL Design to CVS
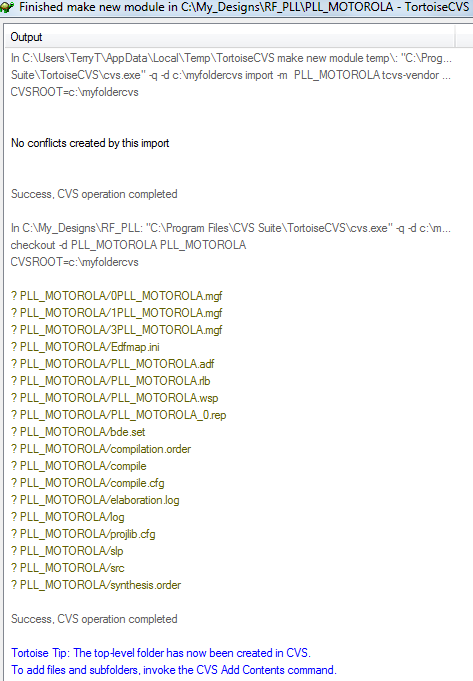
Open any design, select it on Design Browser, right-click on the design and select Source Control | Add design to Source Control as shown below.
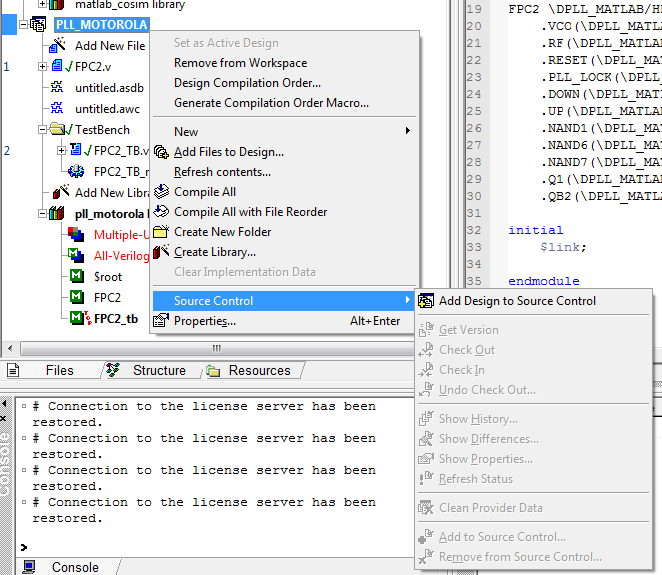
Click Add Design to Source Control when done.
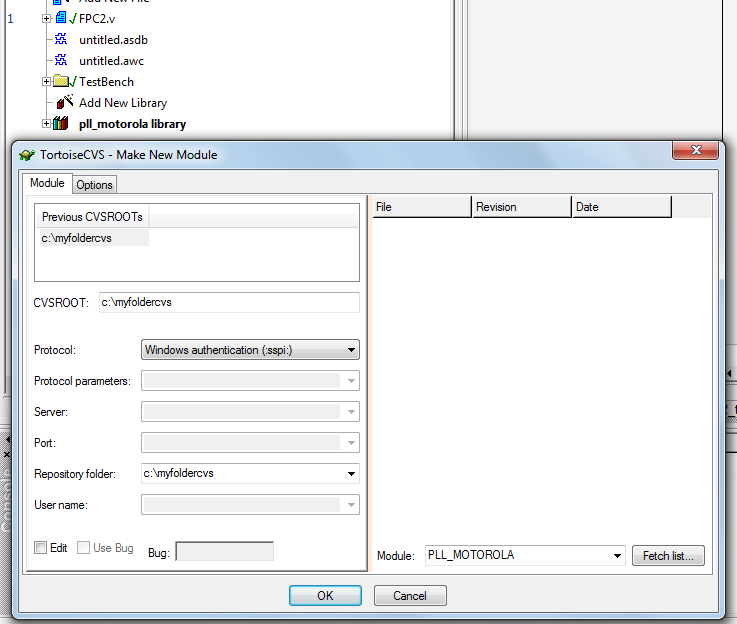
Click OK when done.
Importing Active-HDL project from CVS
Choose: Menu | File | Open Workspace/Design Explorer and within Workspace/Design Explorer choose: Menu | File | Open Design from Source Control as shown below.
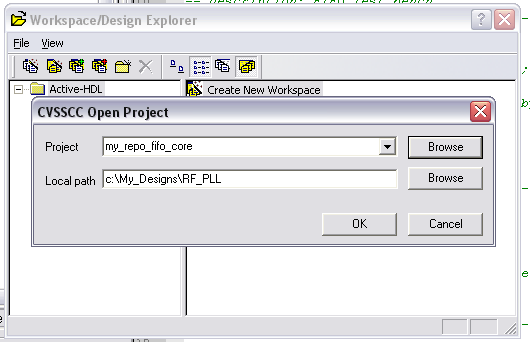
Click OK when done.
Updating CVS repository
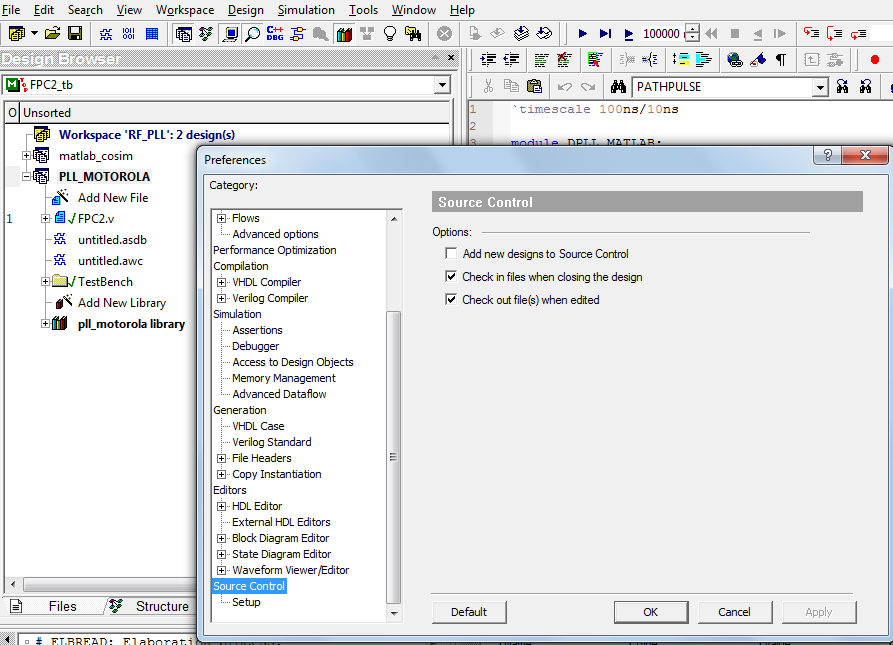
Recommended preferences for updating: Select Check in Files when closing the design option within Menu | Tools | Preferences | Source Control as shown below. Hence the appropriate source file will be automatically checked-out when edited and checked-in when Active-HDL is closed.
Click OK when done.
Corporate Headquarters
2260 Corporate Circle
Henderson, NV 89074 USA
Tel: +1 702 990 4400
Fax: +1 702 990 4414
https://www.aldec.com
©2026 Aldec, Inc.