Integration of Riviera-PRO with Active-HDL
Introduction
Active-HDL is provided with functionality for launching designs in other Aldec tools such as Riviera-PRO, Riviera-PRO VSimSA, and Active-HDL VSimSA. The functionality allows simulation of your desired design and allows you to switch between Active-HDL and other Aldec tools at different design stages, while still sharing the same design resources. Depending upon the specified options, the interface generates a set of macro files (.do files) to launch complete simulation in the selected tool. Additionally, for Riviera-PRO, a workspace and design files are created that define the design structure. Alternatively, the selected tool can be controlled by a custom macro containing all commands required for running compilation or simulation.
Note: The product-specific files are stored separately, which protects them from being overwritten, or mistakenly removed.
How to setup the interface
Prior to specifying your settings in Active-HDL, verify that you have the latest version of Riviera-PRO installed on your machine.
Open your desired design in Active-HDL.
Point to the Riviera-PRO installation directory:
Go to Tools | Preferences.
Under the Simulation category, select Riviera-PRO.
Browse for the proper installation directory.
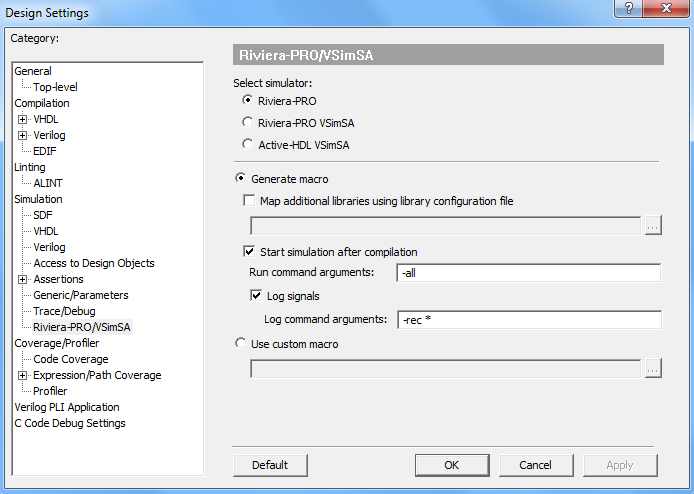
Figure 1: Pointing to the Installation Directory within the Preference window
Specify your Simulation Design Settings to point to Riviera-PRO as your simulator:
Go to Design | Settings .
Under the Simulation category, select Riviera-PRO/VSimSA.
Select Riviera-PRO as the simulator.

Figure 2: Riviera simulator settings
Setting up interface options
You have the option of Generate Macro or Use custom macro.
The Generate Macro option controls the external simulator by means of generic macro files created by Active-HDL. The macro files are responsible for controlling particular stages of design processing (e.g. preparing a design structure for the selected simulator, compilation, initialization of simulation, etc.). The sequence of launching the macros is defined in the main macro file (run.do), stored in the design folder. Under this option you can:
Map additional libraries by pointing to the desired library.cfg file.
Start simulation after compilation enables simulation to start after compilation. When this option is disabled, the process will stop after compilation.
If you choose to Start simulation after compilation, you can choose to log signals and specify log command arguments.
The Use custom macro option allows you to choose a custom macro file to run the simulation. In this macro file, you can include opening a new waveform window and adding signals to the waveform so you do not have to do so manually.
How to run the process
Run the simulation using the designated Aldec Simulator:
In the Simulation menu, select Run in Aldec Simulator.
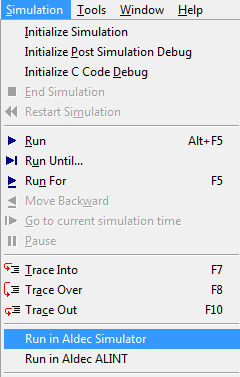
Figure 3: Running the Riviera-PRO Simulation from the Active-HDL Simulation menu
View your simulation in Riviera-PRO
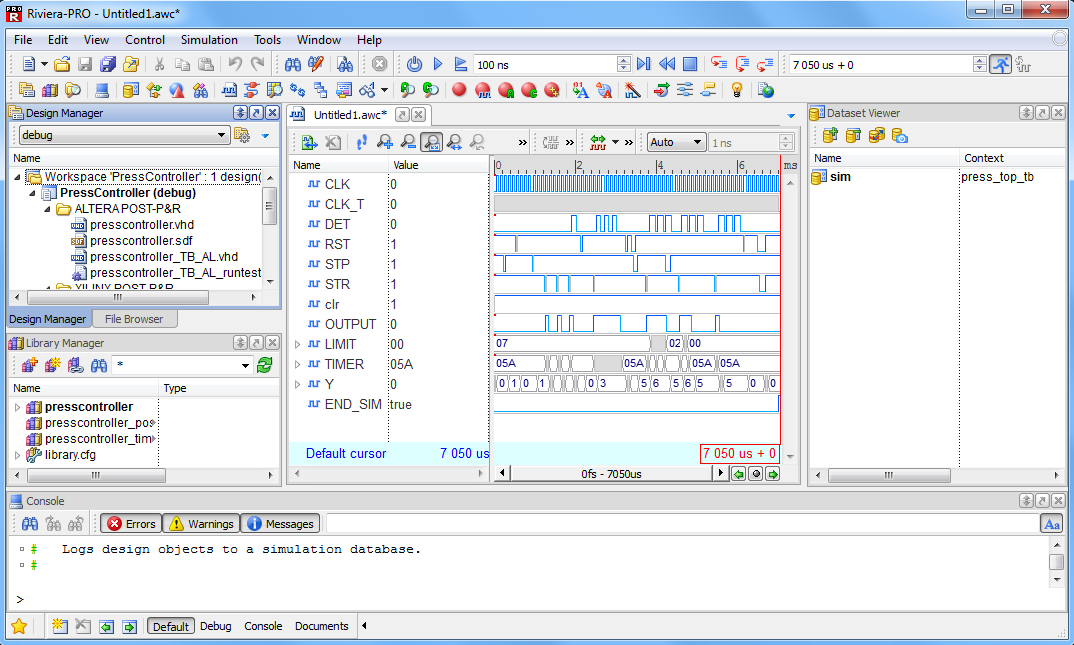
Figure 4: Simulation results in Riviera-PRO
If you chose the Generate Macro option, you will have to add the waveform viewer window manually.
Manually opening the simulated waveform
Switch to the Debug view, located at the bottom toolbar.
Open a new waveform file by going to View | Debug | Waveform.
Add signals to the waveform by right-clicking on the top-level unit located in the Hierarchy Viewer by going to View | Hierarchy and Objects | Hierarchy, and selecting Add to Waveform.
In the Design Manager window, you can observe the workspace and design created along with all of your source files. You can also observe the generated macro files (run.do, create_workspace.do, compile_workspace.do, initialize_simulation.do, log_signals.do, and run_simulation.do).
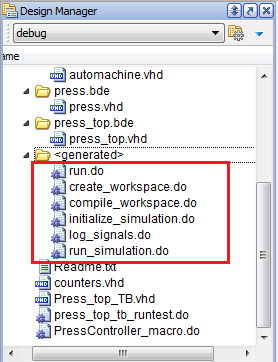
Figure 5: Generated macro files
For future usage, you can modify the macro files and use them to run your simulations.
Corporate Headquarters
2260 Corporate Circle
Henderson, NV 89074 USA
Tel: +1 702 990 4400
Fax: +1 702 990 4414
https://www.aldec.com
©2026 Aldec, Inc.